Custom fields
This article describes how Tenant Owners can use custom fields to add device metadata, such as inventory numbers, external IDs, or street addresses.
After defining a custom field in the tenant settings, other users can assign values to these fields on the device's detail page. From then on, the custom fields will be added to data sets coming in from the device, and will be added to Data tables for use in Dashboarding, as well as to outgoing messages via Integrations.
Managing custom fields
Use the Custom Fields page to add, edit, or delete custom fields.
Accessing the custom fields page
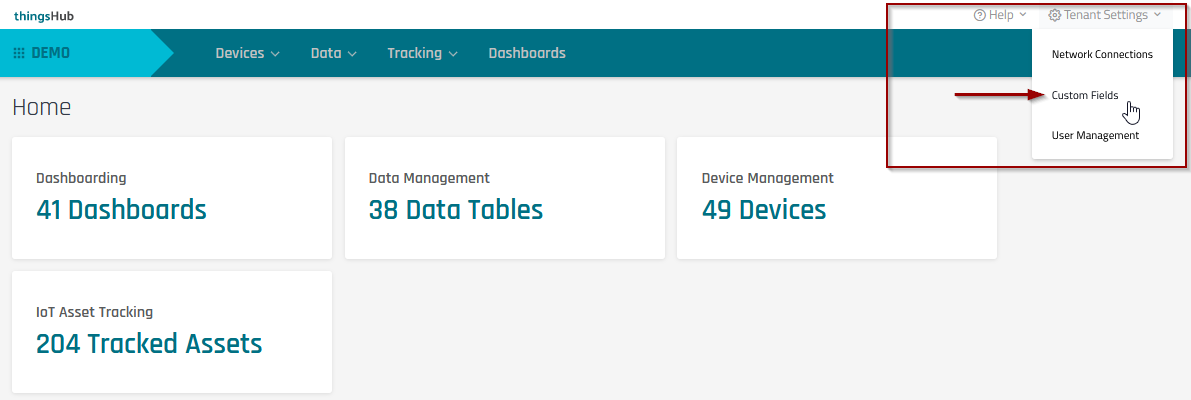
Go to Tenant Settings > Custom Fields
Home Page
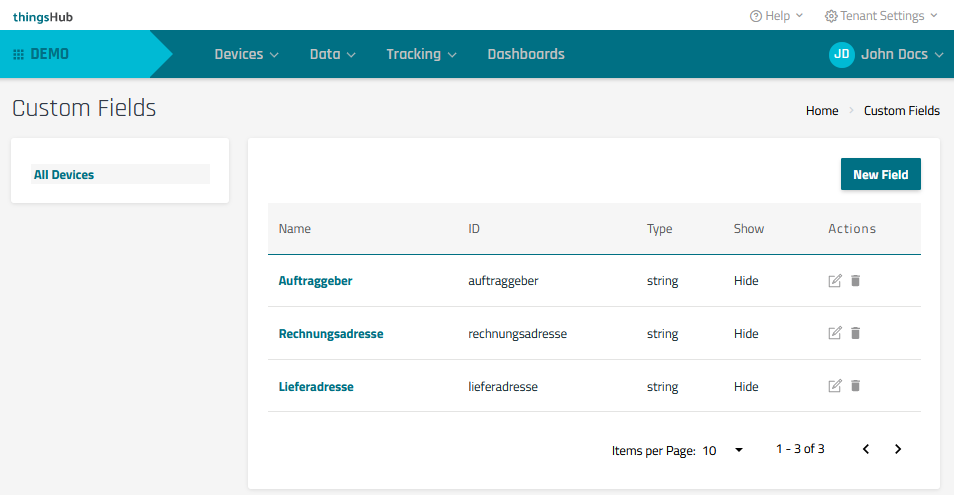
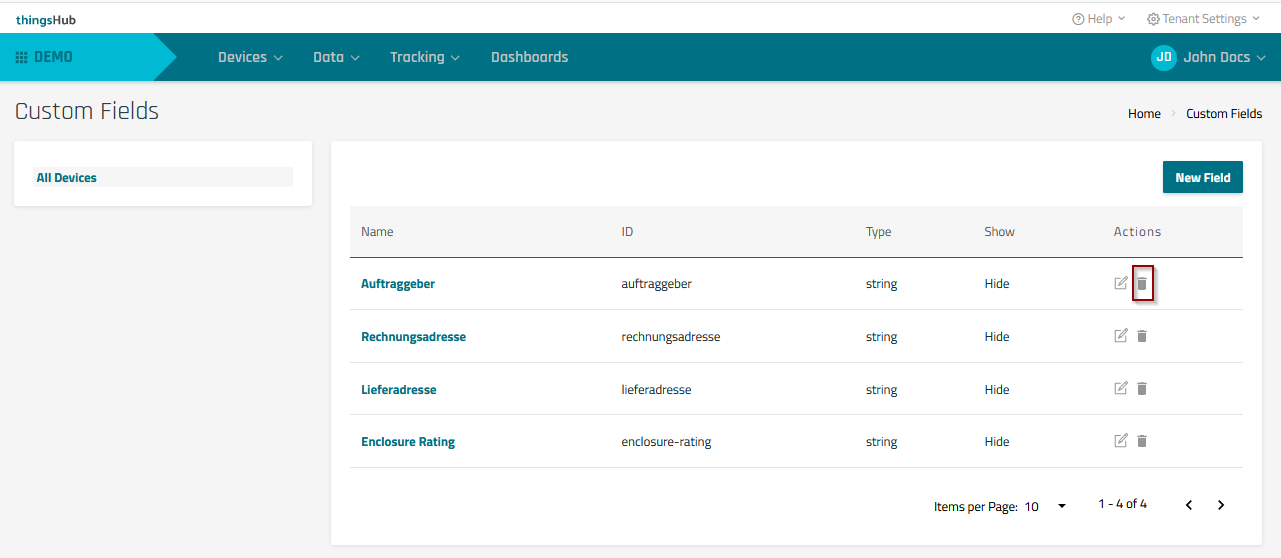
Custom Fields page
Create a new custom field
Step 1) From the Custom Fields page, select the New Field button.

Step 2) In the New Field dialog, enter the following information, and then press the Save & Next button.
Name. Enter a unique, descriptive name of the custom field.
Type. Defines the type of data used to represent the information. At this time, string is the only data type available.
Hide toggle switch. Shows or hides the custom field in the associated device details and data tables.
Note: The ID is auto-generated and cannot be edited.
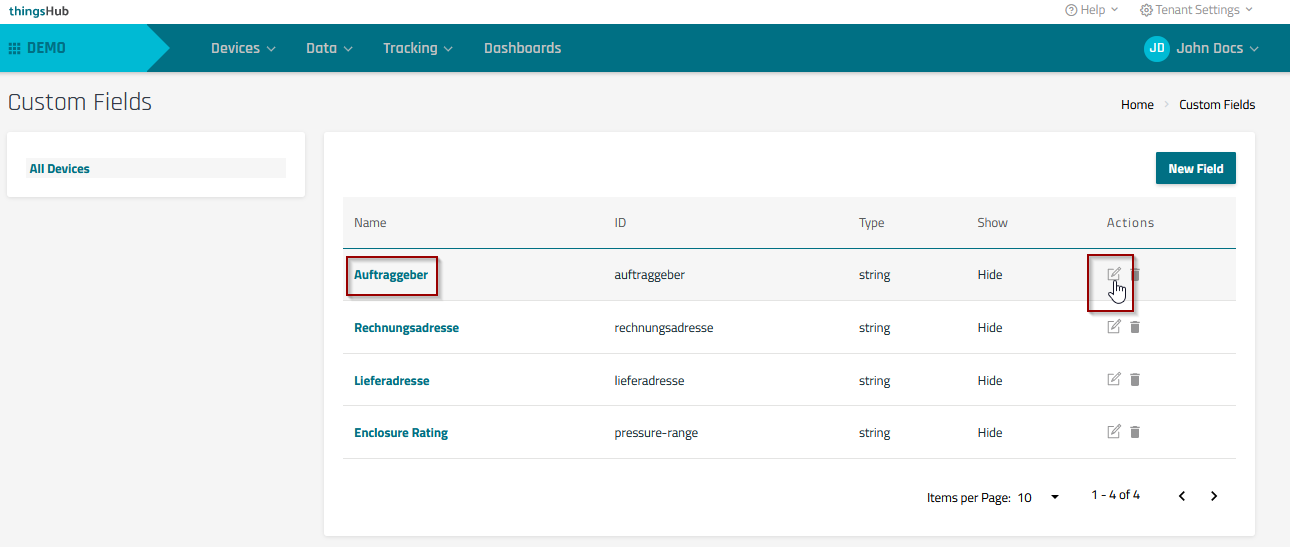
Edit an existing custom field
Step 1) From the Custom Fields page, select the field’s name or the field’s Edit button.
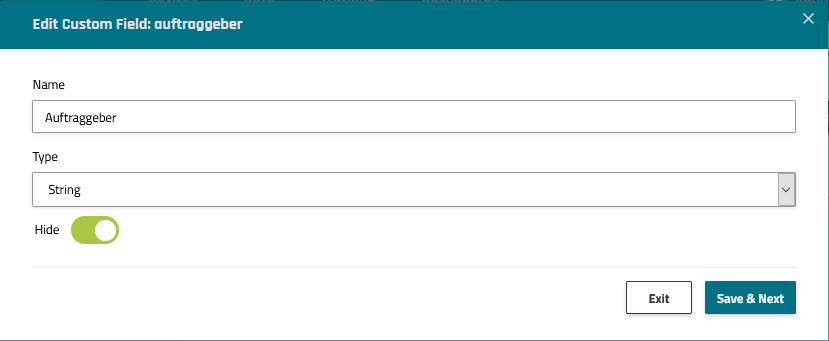
Step 2) In the Edit Custom Field dialog, modify settings based on the following requirements. Then select the Save & Next button to save changes and return to the Custom Fields page.
Name. Enter a unique, descriptive name of the custom field.
Type. Defines the type of data used to represent the information. At this time, string is the only data type available.
Hide toggle switch. Shows or hides the custom field in the associated device details and data tables.
Note: The ID is auto-generated and cannot be edited.
Delete a custom field
Step 1) From the Custom Fields page, click on the Delete button that corresponds to the custom field to be deleted. Then choose Ok to confirm the custom field deletion.
View and enter a device’s custom field values
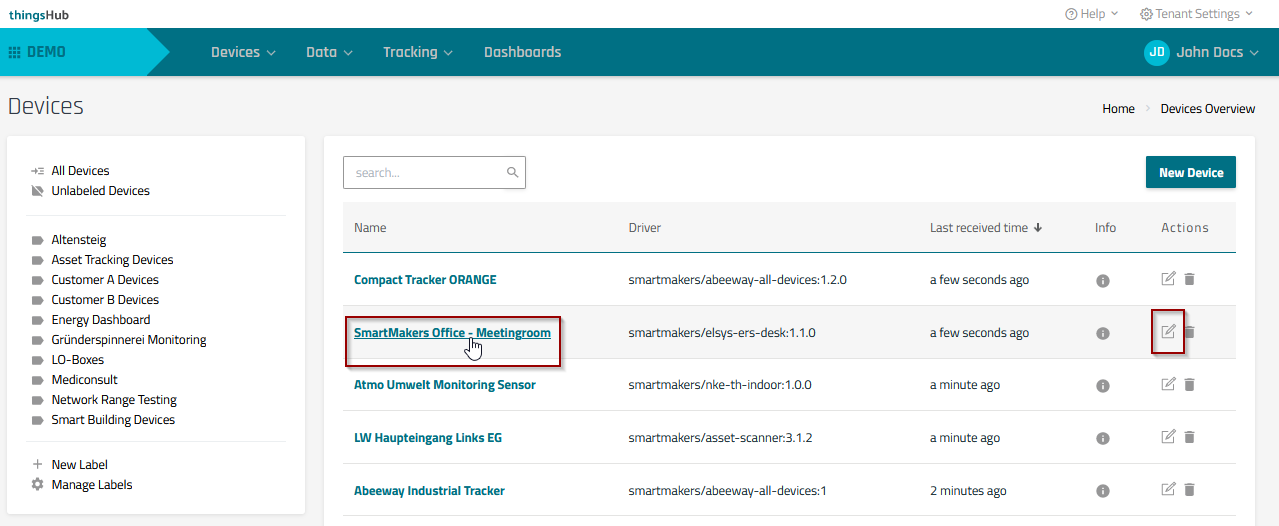
Step 1) Go to Devices > Overview and select the device by selecting its name or Edit icon.
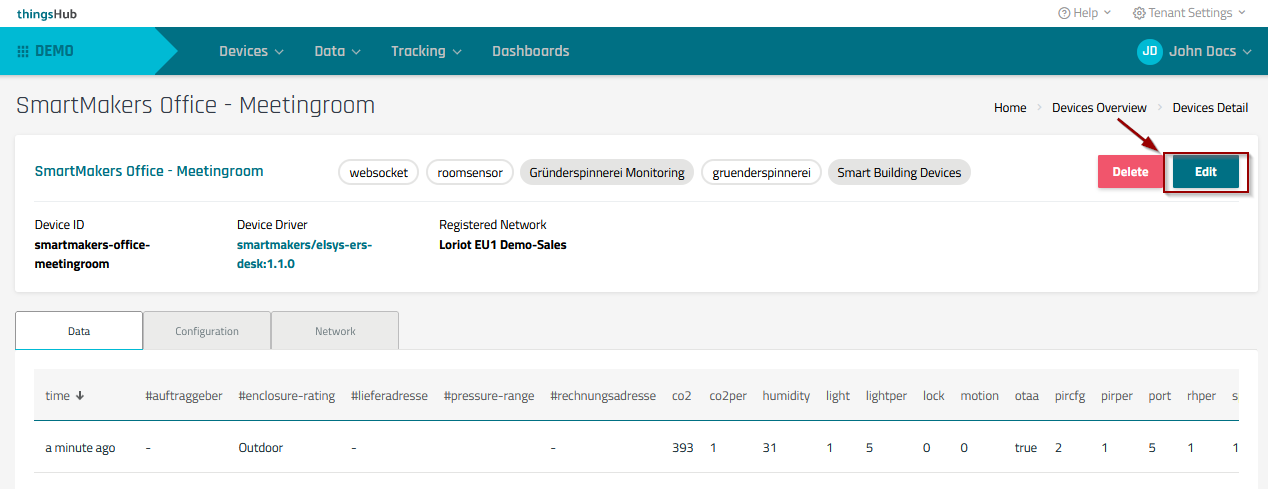
Step 2) In the Devices Detail page, select the Edit button to open the Edit Device dialog.
Devices Detail page
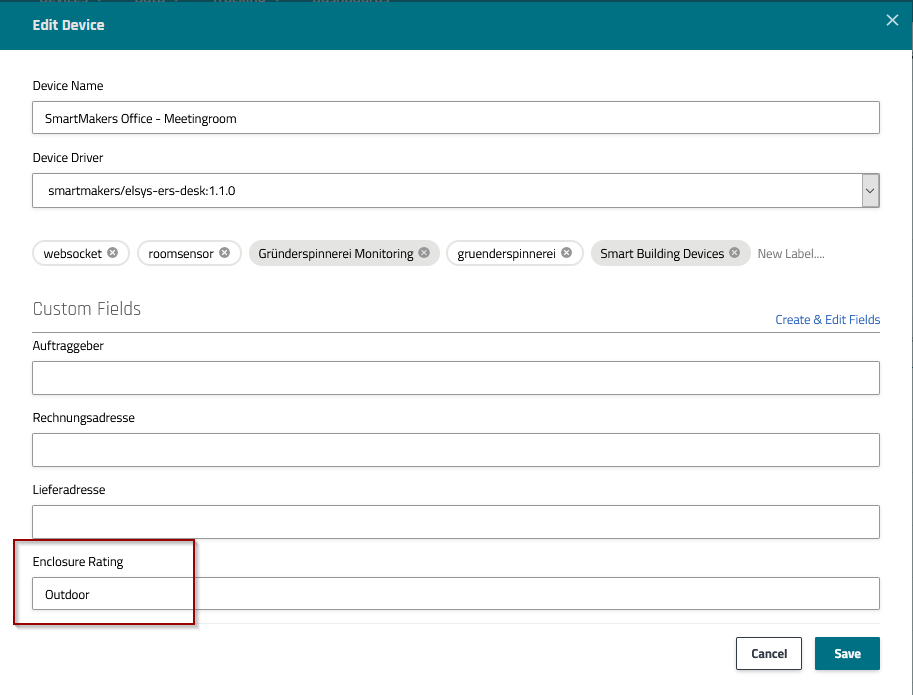
Step 3) In the Edit Device dialog, enter a value for the custom field and press the Save button. If the visibility is enabled, the field name and value will be displayed any Data Table that includes an associated device Label.
Edit Device dialog
Step 4) To view the custom field displayed in a data table, go to Data > Data Tables and select the associated Data Table.
Related articles