Managing assets
This article describes how Asset Tracking Owners can manually add, edit, and delete Asset Inventory items. To learn how to automatically add and remove assets, see Asset Export Interface: how to retrieve tracking data in your IT systems.
Overview
In order to be tracked, an asset must be stored in the Asset Inventory and bound to an asset tracker/tag.
The Asset Inventory is a database used to store and manage all of the assets that you want to track. It includes both actively tracked assets--assets that are bound to an active tracking device--and assets that are not actively being tracked, but that may be tracked in the future.
Virtually connecting an asset to a tracking device is called Binding. This connection process includes selecting the virtual representation of the physical tracking device, which is stored in the Asset Tracker/Tag Inventory, and binding it to the virtual representation of the asset, which is stored in the Asset Inventory.
For more information on Binding and Unbinding tracking devices and assets, see Asset tracking .
For information on adding asset trackers/tags to the thingsHub database, see Provisioning asset trackers/tags | comment-2259092086 .
Asset inventory terminology
Asset. Any physical object that can be tracked by using various types of tracking devices.
Asset Inventory. Database of all assets, including both tracked and non-tracked assets.
Asset ID. Unique identification of the asset.
Asset Name. Case sensitive name for the asset.
Metadata. Key and value type metadata that is used to logically organize and group assets by common characteristics.
Asset inventory features & interface
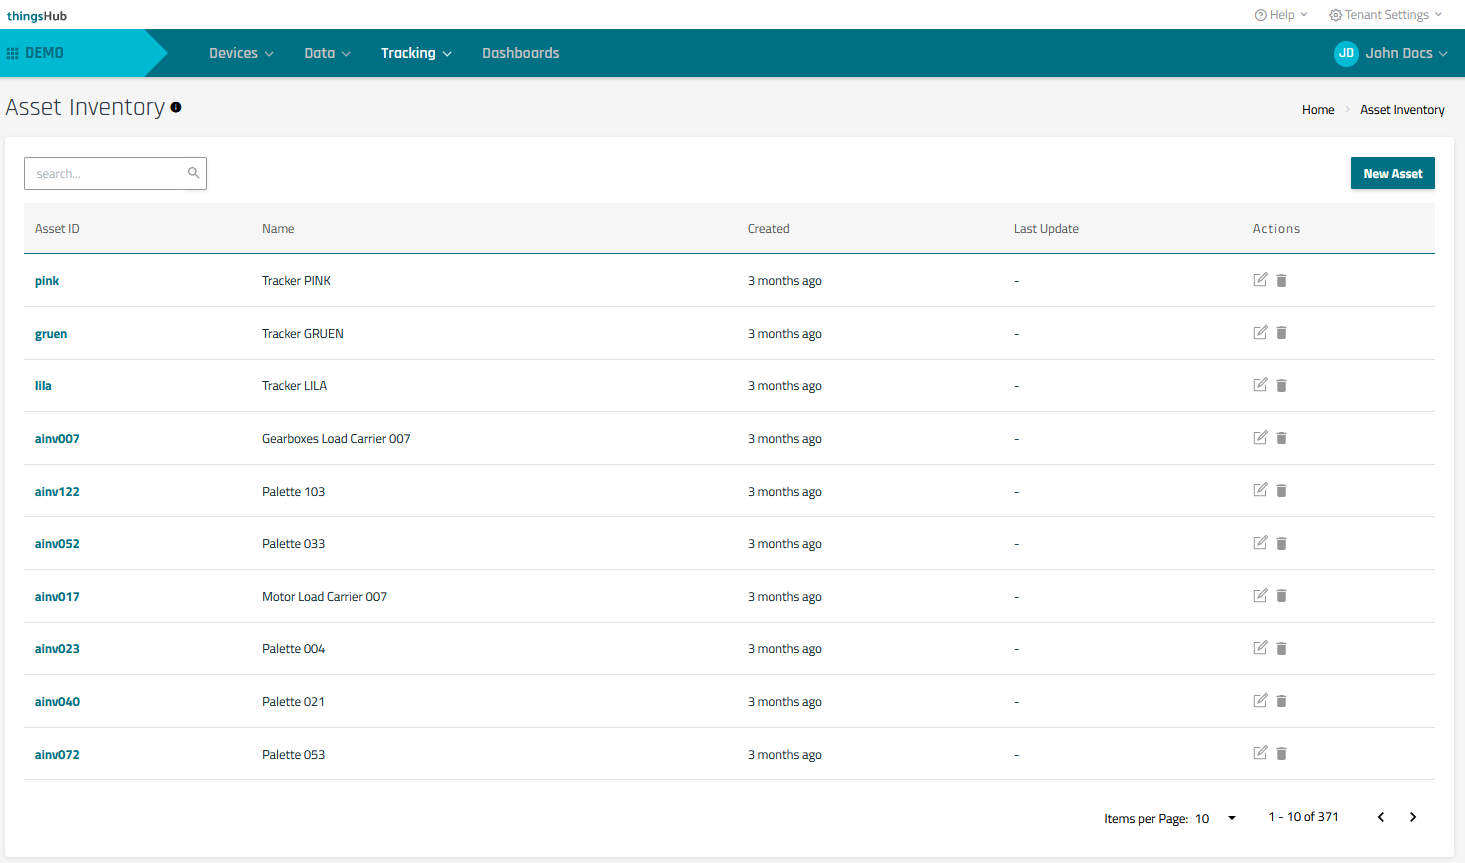
The Asset Inventory overview screen displays all assets, including both tracked and non-tracked assets.
Search for an asset by Asset ID, Name, or Metadata Value.
Select the Edit button to view or edit the asset name or metadata.
Select the New Asset button to manually add a new asset.
Managing assets
You can view, and manually add, edit, and delete assets in the Asset Inventory.
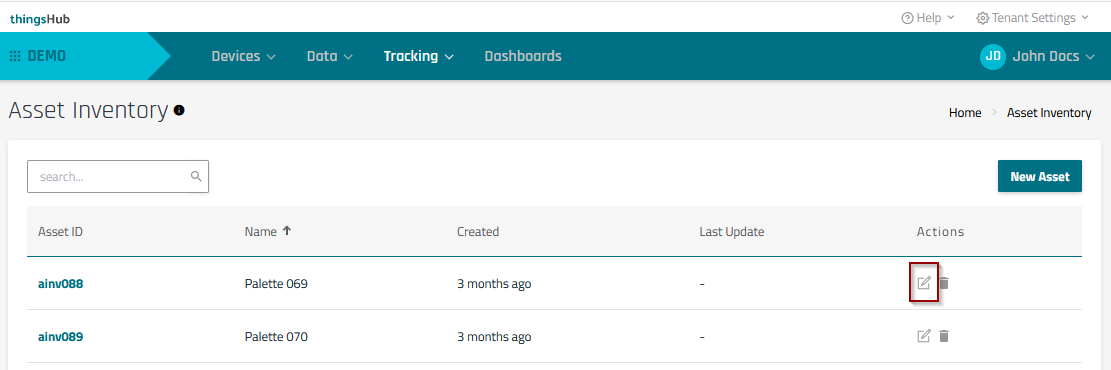
View/search for existing assets
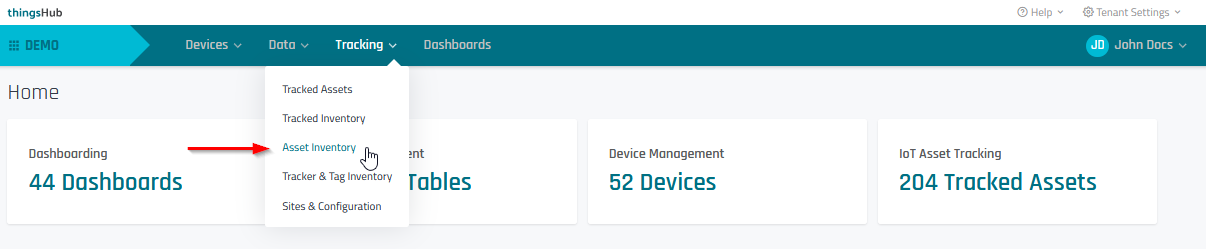
Step 1) Go to Tracking > Asset Inventory
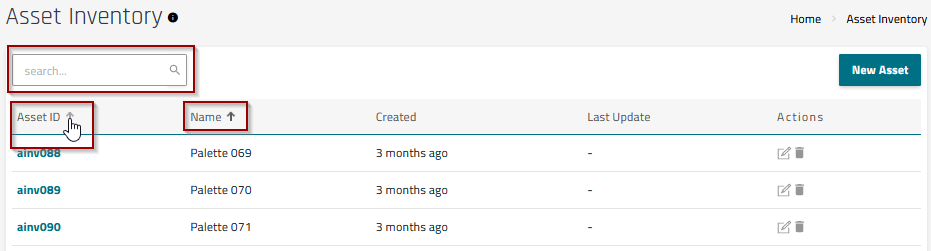
Step 2) Locate an asset using one or more of the following methods:
Search for an asset using the following terms: Asset ID, Asset Name, or Metadata Value.
Sort the Asset ID or Name columns in ascending/descending order.
Add an asset to the asset inventory
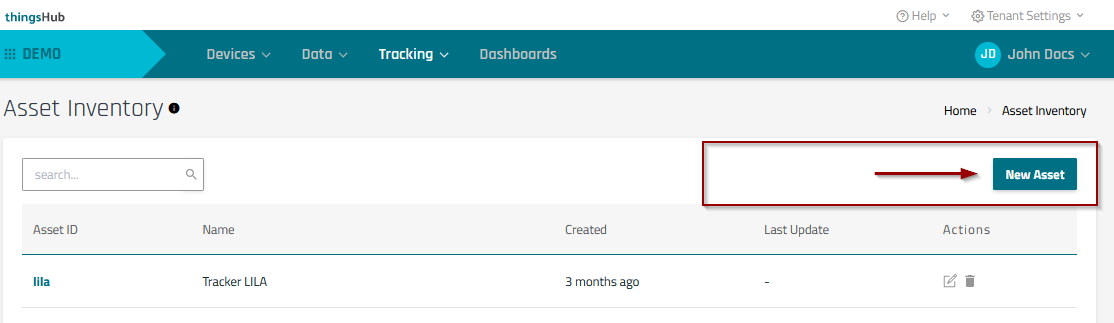
Step 1) In the Asset Inventory, press the New Asset button to open the New Asset dialog. Note that this is only possible if the inventory is not managed by the Asset Inventory synchronization mechanism. See the page Asset Export Interface: how to retrieve tracking data in your IT systems for more information on this.
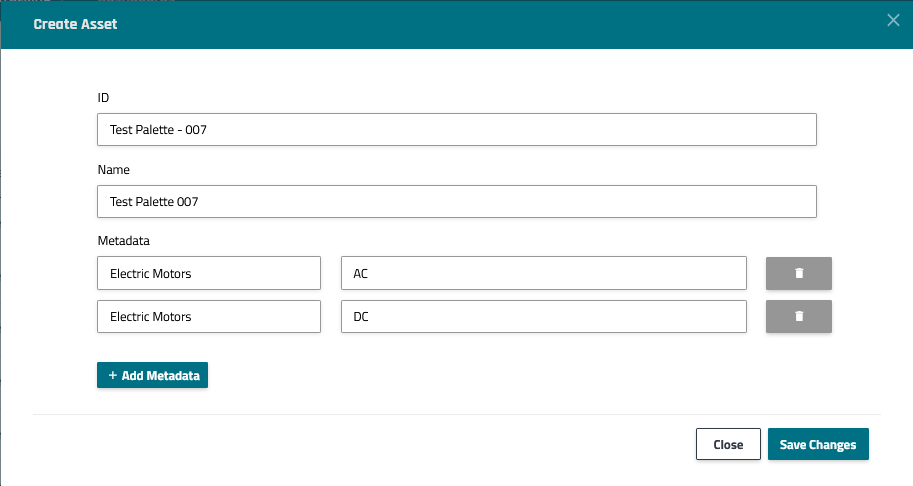
Step 2) Enter the Asset ID, Asset Name, and optional Metadata per the below field descriptions. Then press the Save Changes button to complete the process and return to the Asset Inventory.
Asset ID. This ID can be set as needed by the user. For example, it could be the same asset ID used in an existing system, such as an ERP. However, the ID is constrained to a 63 character limit comprised of lowercase letters, numbers, and dashes.
Asset Name. Case sensitive name assigned to the asset.
Metadata. Optional key/value type metadata that is used to logically group different assets based on common characteristics.
Example
Delete an asset from the Asset Inventory
Step 1) In the Asset Inventory page, select the asset’s Delete button. In the confirmation dialog, press the Ok button to confirm the asset deletion.

Edit an existing asset
Step 1) In the Asset Inventory page, select the asset’s Edit button.
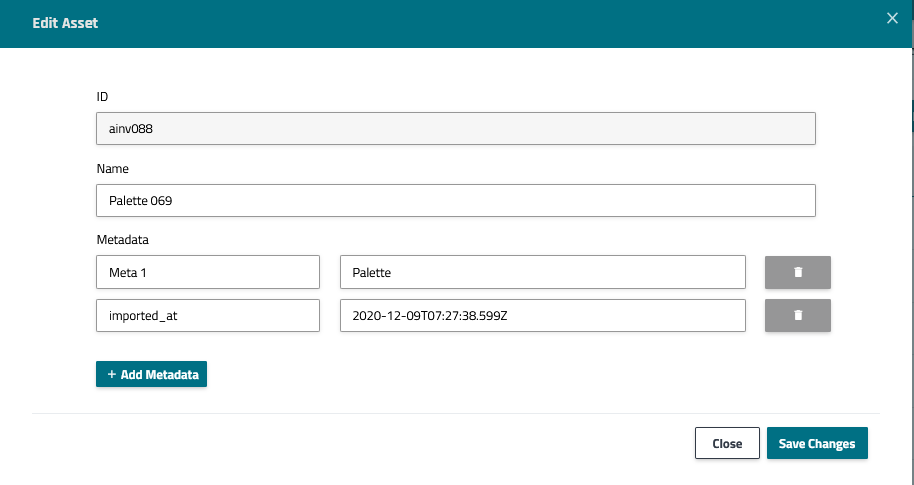
Step 2) You can change the Asset Name and add, edit, or delete asset Metadata (see field descriptions below). When you’ve completed the changes, choose Save Changes to complete the process and return to the Asset Inventory.
Asset ID. This field cannot be changed due to technical reasons.
Asset Name. Case sensitive name assigned to the asset.
Metadata. Key/value type metadata that is used to logically group different assets based on common characteristics.
Related articles
Asset Export Interface: how to retrieve tracking data in your IT systems