Chirpstack
This article explains how Tenant Owners can connect the thingsHub to the Chirpstack Network. ChirpStack Application Server is an open-source LoRaWAN® Application Server, part of the ChirpStack open-source LoRaWAN Network Server stack. It is responsible for the device "inventory" part of a LoRaWAN infrastructure, handling of join-request and the handling and encryption of application payloads.
For receiving data from the Chirpstack network to Thingshub we use the HTTP Push integration.
Server Connection Process
In the Chirpstack portal perform the following tasks:
Create a new API Key
Create a Network Server
Create a Service Profile
Create an Application and assign the created service profile (save the Application ID)
Create a Device Profile
In the thingsHub, create a new IoT connection
In the IoT connection wizard, add Name and select a Network Connector.
Enter all of the parameters noted in the table below and click “Connect“ to make connection.
After creation, note down the Push URL and Push Token on the connection’s Configuration tab
Connect to a Chirpstack Network server
Step 1) Go to your Chirpstack Network Server dashboard (e.g. https://chirpstack.yourdomain.com/ ) and log in to your account.
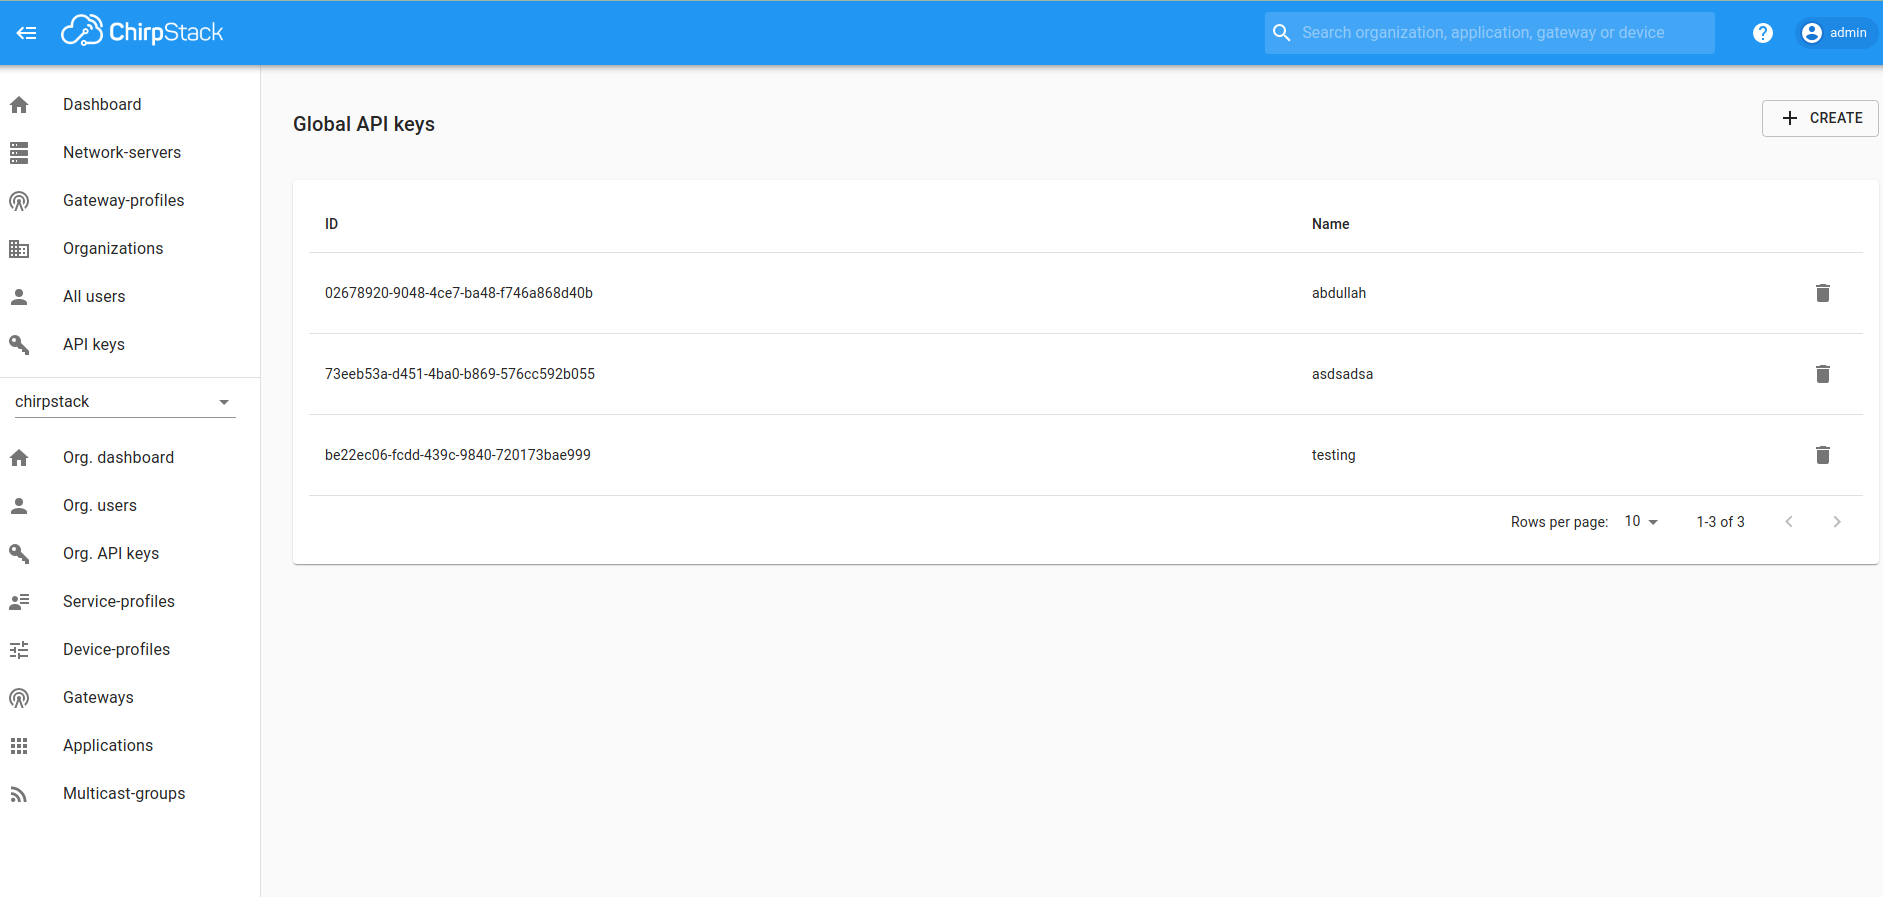
Step 2) Go to API Keys, and create a new API Key.
Notes:
It is strongly recommended that you add a name to the key, such as the domain name of your thingsHub tenant. Doing so will make it much easier to identify the key in the future, such as when you need to revoke the API key.
You will need to enter the API Key in the thingsHub as described in Step 7, below.
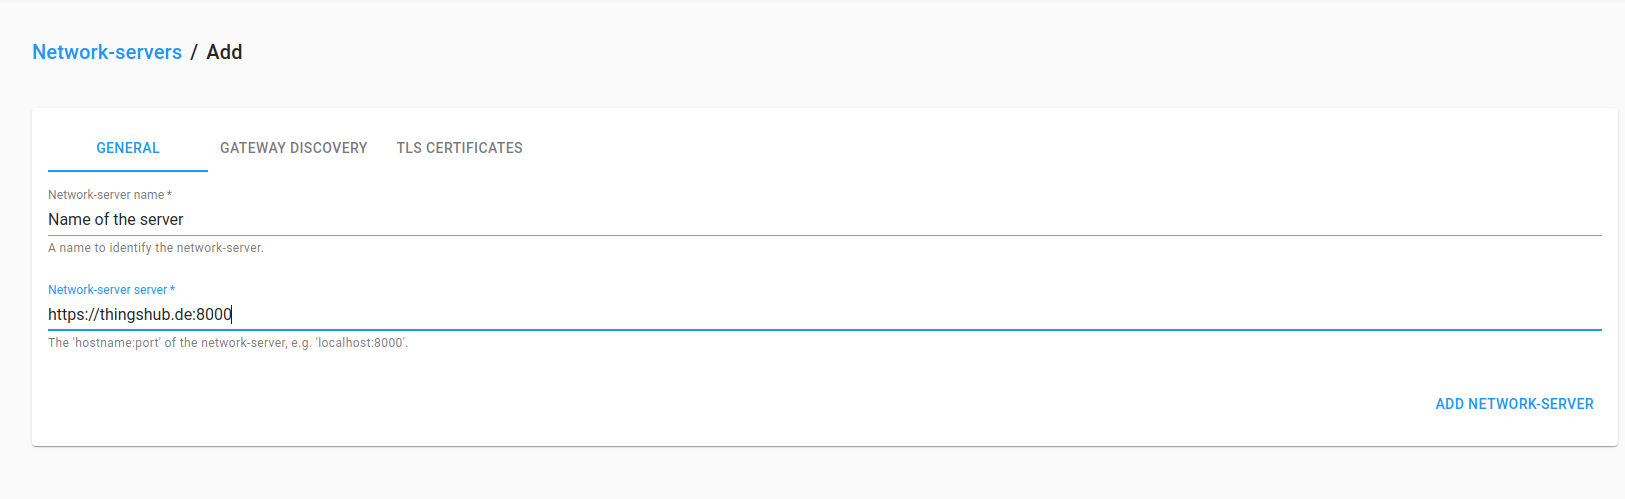
Step 3) In the Chirpstack dashboard go to Network Servers and create one.
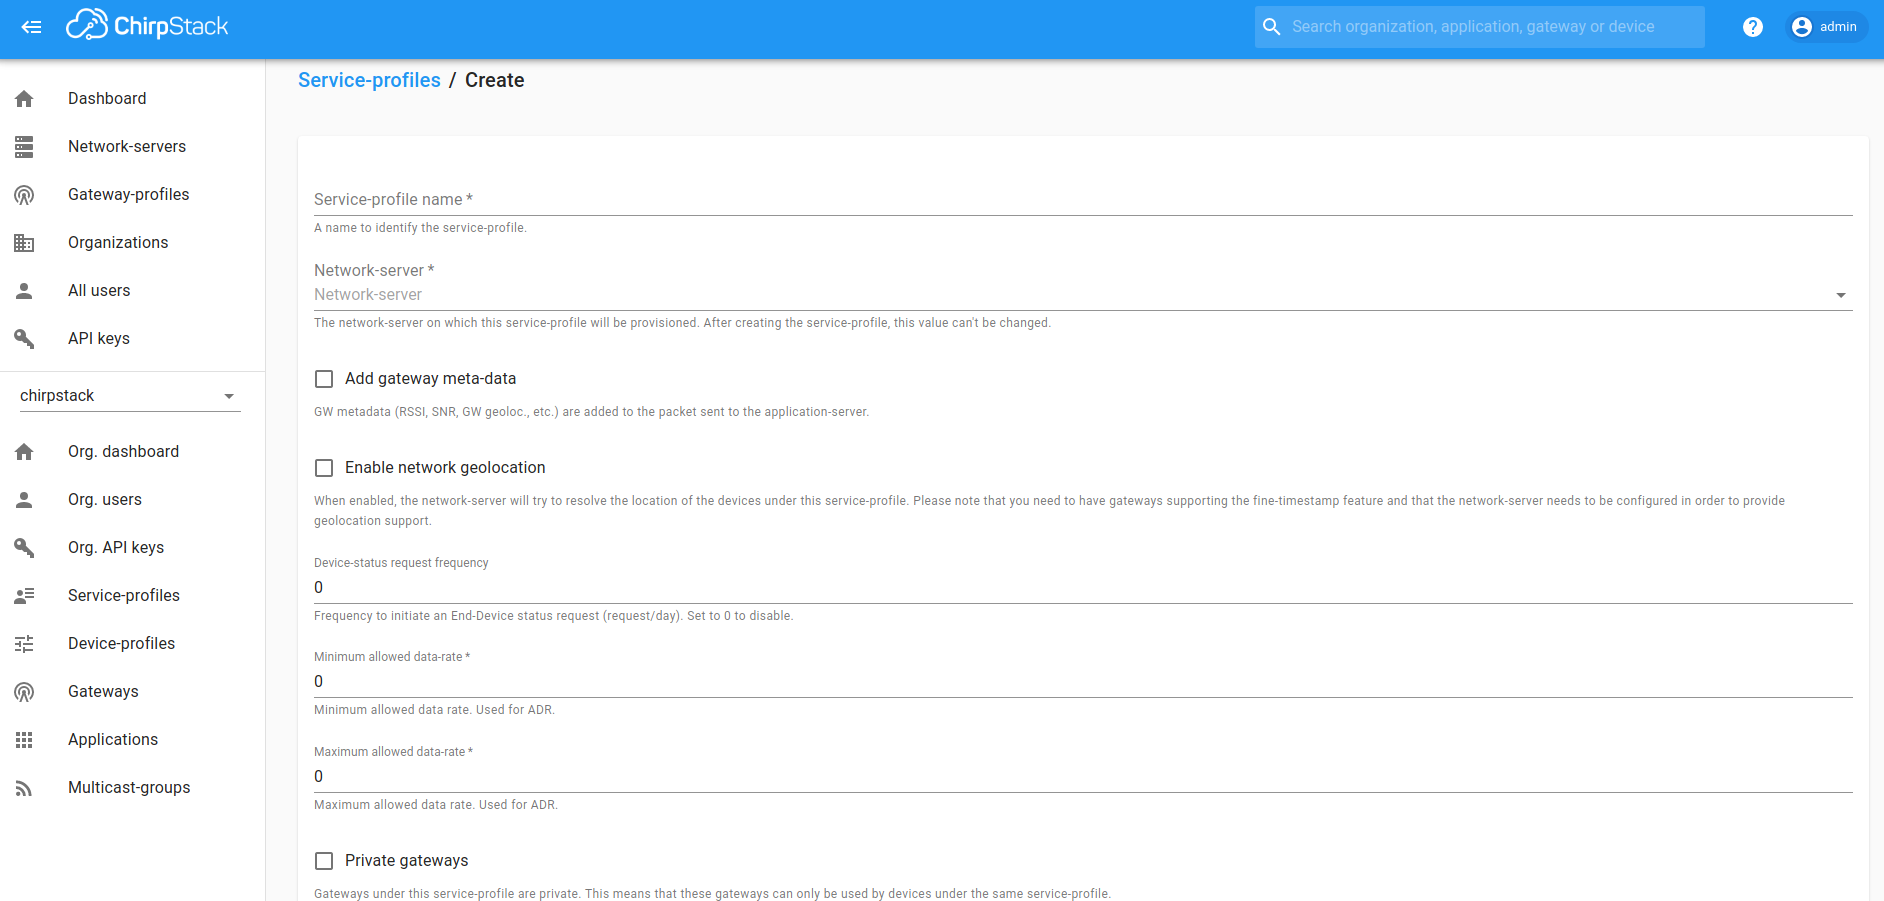
Step 4) In the Chirpstack dashboard go to Service Profiles and create one.
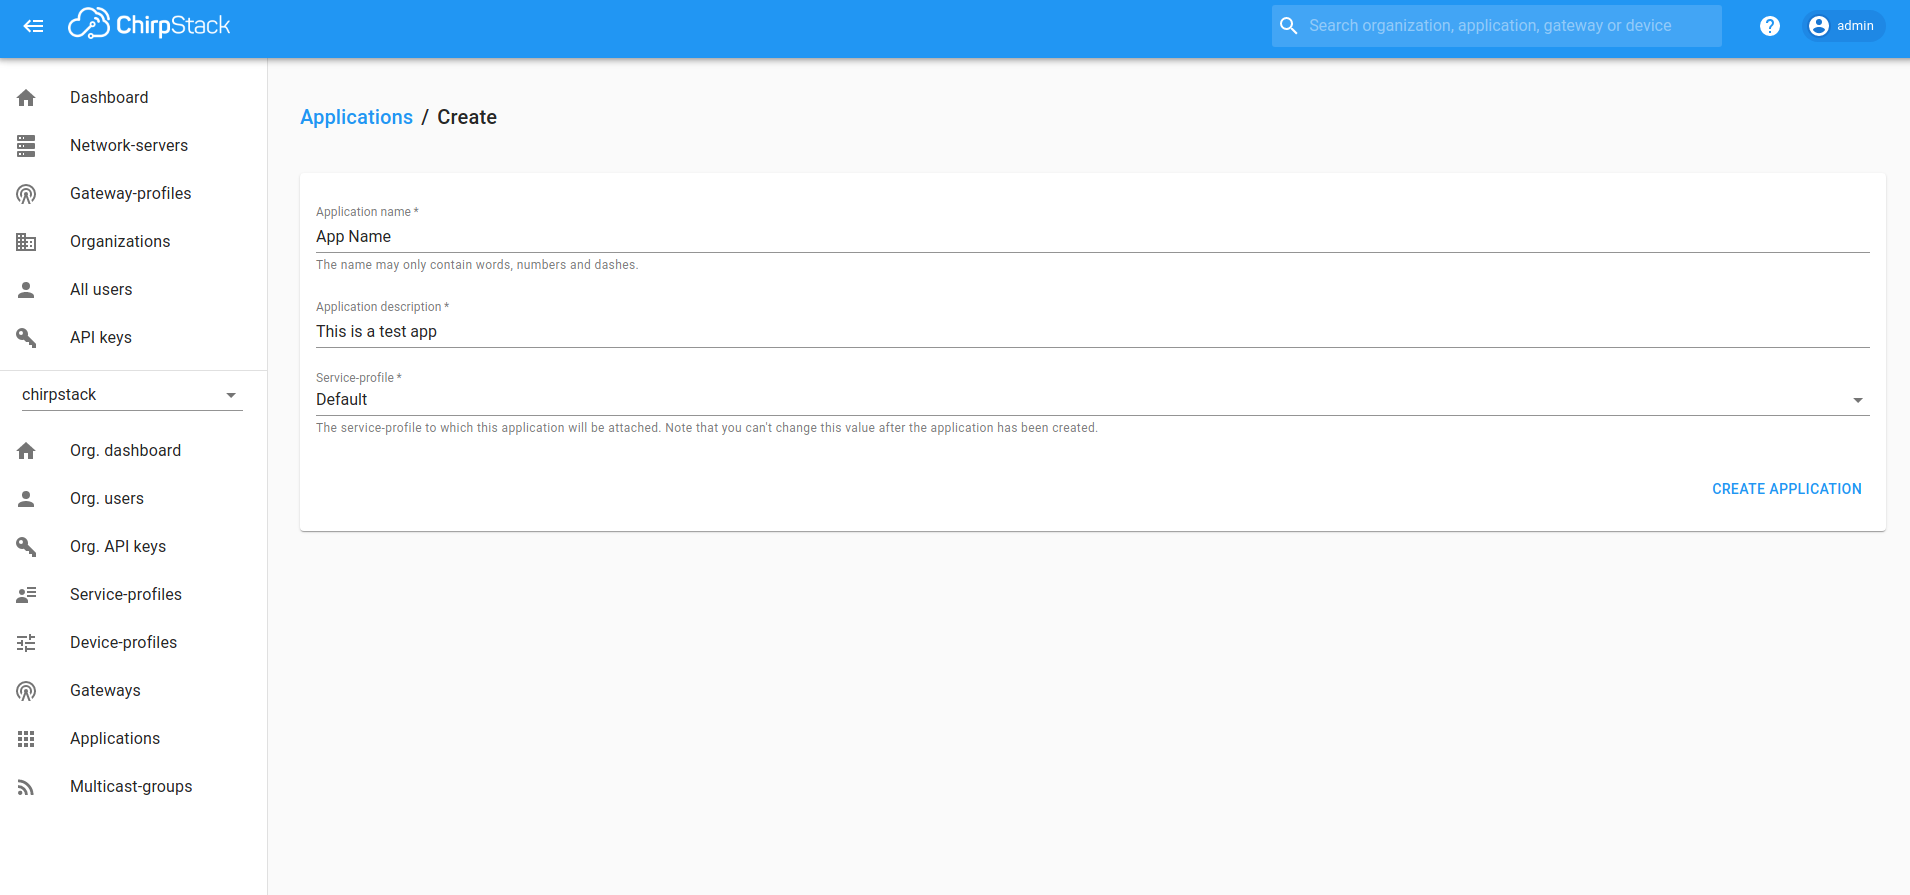
Step 5) Go to Applications, create a new application and assign the created service profile to it during the creation process.
Step 6) In the Chirpstack dashboard go to Device Profiles and create a new device profile.
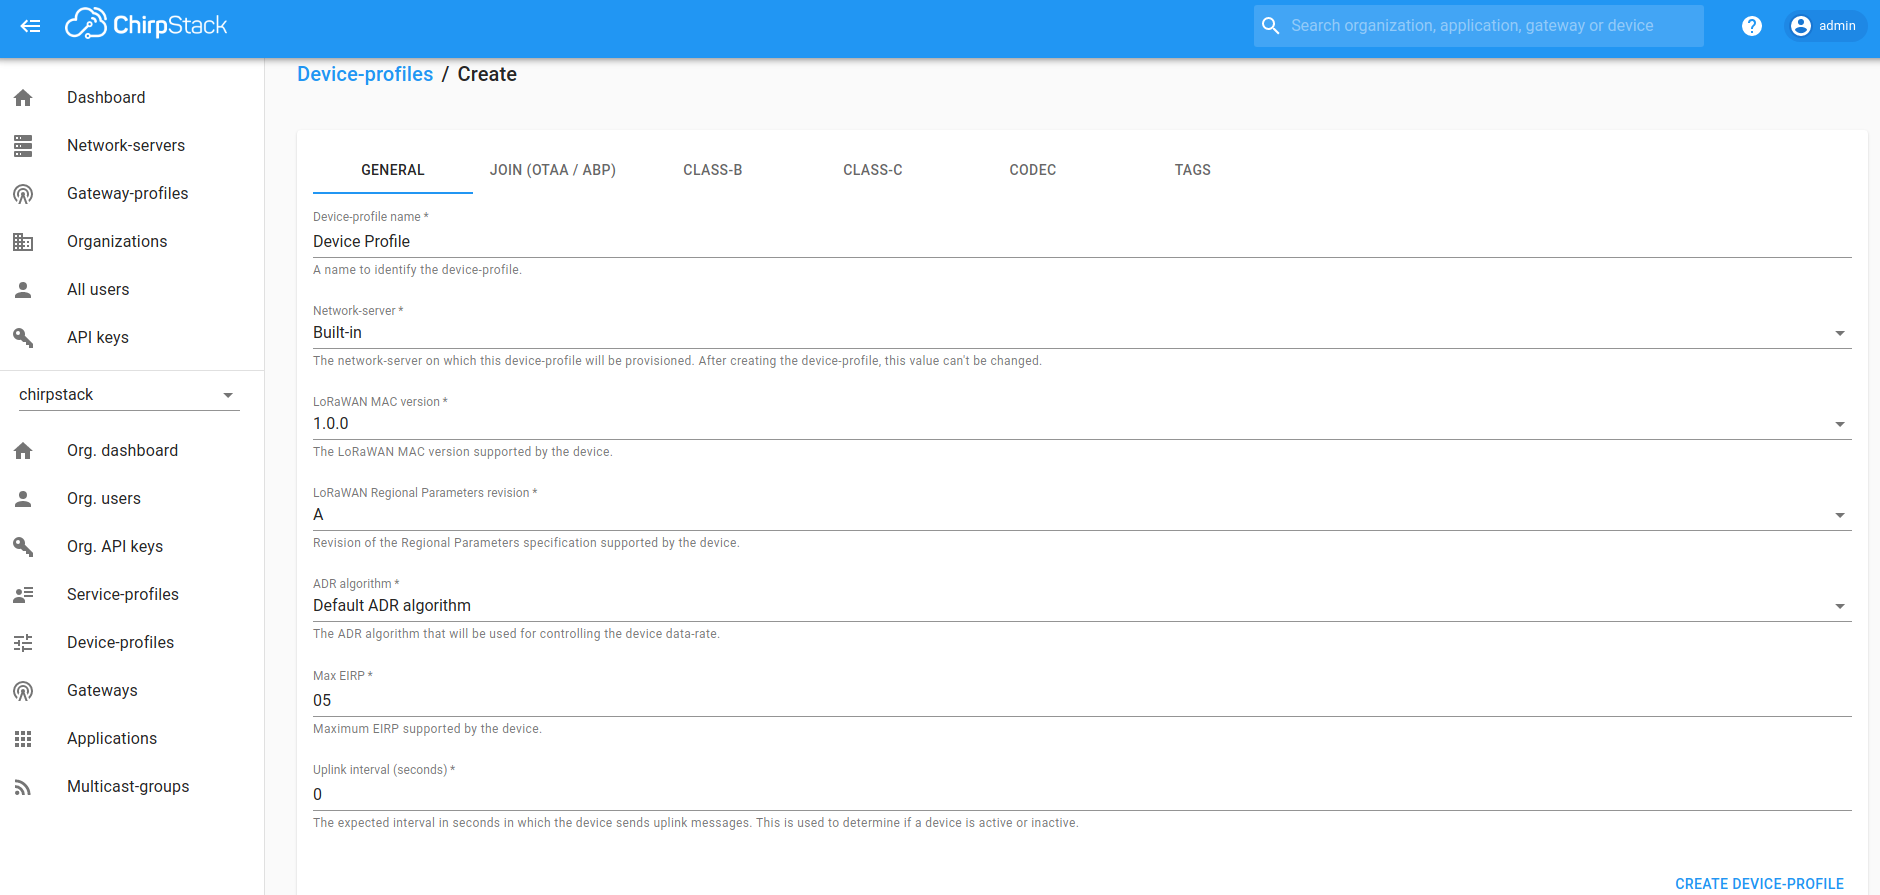
Notes:
You will need the Device Profile ID, which is the UUID accessible in the URL when selecting the profile, ie.
organizations/1/device-profiles/ef8af358-38cb-41a8-ad0b-9abf0b971086(the last part is the device profile id)

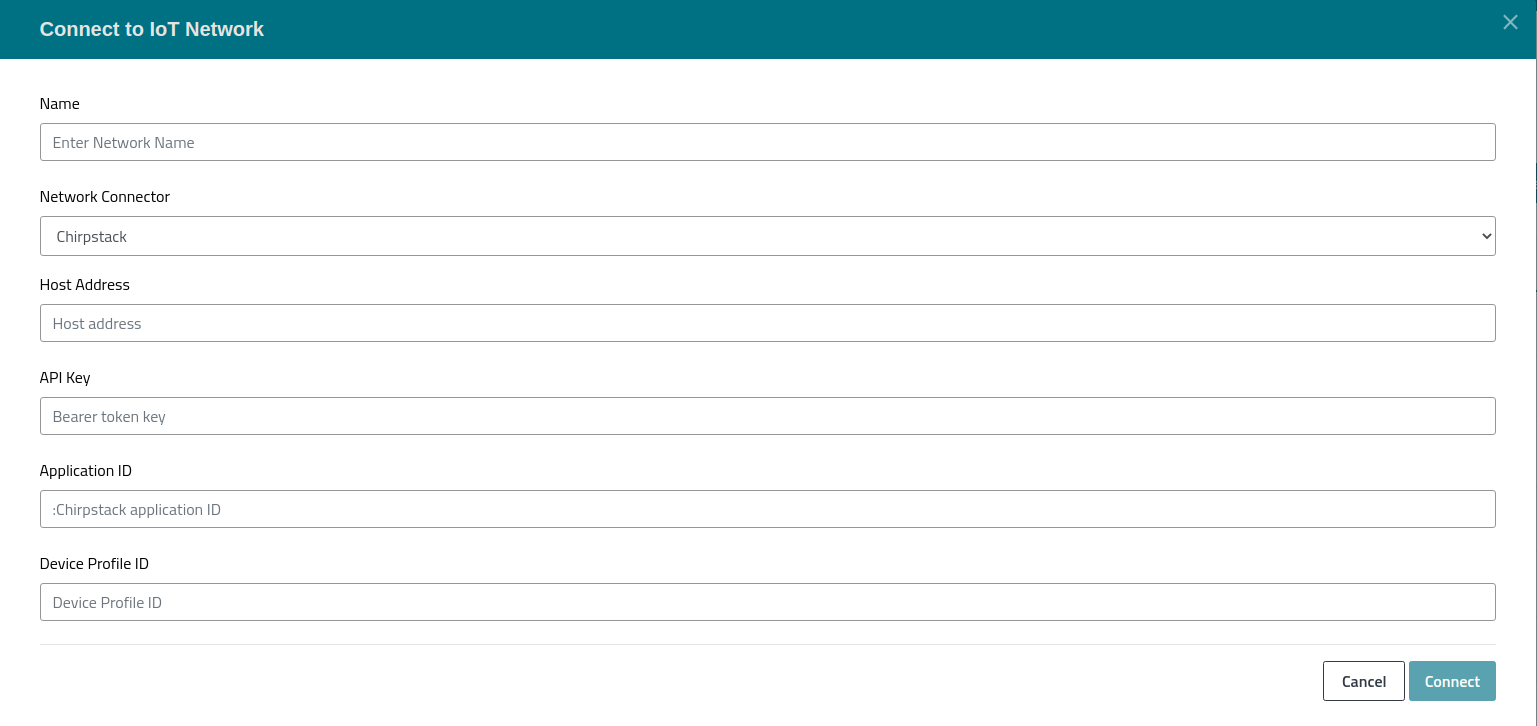
Step 7) Open your thingsHub tenant, go to Tenant Settings > IoT Network Connections, and then select the New Connection button. In the Connect to IoT Network dialog, enter the name, network connector (Chirpstack), host address (from step 3), API Key (from Step 2), Application ID (from Step 5) and Device Profile ID (from step 6) per the below parameters description table. Then press the Connect button. The new network connection will first be validated, and if successful, it will be created.
Parameters
The following parameters need to be set when creating a Chirpstack Network Connector in the ThingsHub:
Parameter | Description |
|---|---|
Name | The display name of this Network Connection. |
Network Connector | Chirpstack |
Host Address | The name of the LNS to connect to. E.g. https://chirpstack.domain.com/ |
API Key | The API key used for authentication. |
Application ID | The ID of the Application to connect to. This is a number like 3 or 14. |
Device Profile ID | A pre-define set of connection configuration parameters which wil be used by all devices which are registered through this network connection. |
Next steps
You can now connect your devices via this network connection with the thingsHub. You can either add a new device now and connect it during this process, or connect an existing device on the device’s Network tab.