Upgrade to 5.3 ( Mandatory )
This guide outlines the process for upgrading your ThingsHub installation to version 5.3.x. Upgrading to 5.3.latest is mandatory for all thingsHub systems before upgrading to any later version. Likewise, upgrading directly to 5.3.x from unsupported versions should be avoided.
Following the Upgrade Path
For a seamless upgrade, consult the Upgrade thingsHub document to determine the exact sequence required for your current version. Look for "mandatory" in the page title to identify essential steps in the upgrade path. These mandatory upgrades ensure compatibility and prepare your system for the final upgrade to 5.3.x.
What's New?
Before upgrading, be sure to review the What's New page for details on new features and functionalities introduced in version 5.3.x. Additionally, the Breaking Changes page highlights any significant changes that might impact your existing setup.
Upgrading from Previous Versions
Direct upgrades are supported from version 5.0.x or 5.1.x or 5.2.x to 5.3.x. If you're using an older version, upgrade to 5.0.x first (refer to the Upgrade to 5.0 document). This guide focuses solely on the incremental changes required from version 5.0.x.
Before You Begin
Make sure to read the What’s New for the release 5.3.x.
Checkout the Breaking Changes page to see if this version has any major breaking changes.
Make sure the thingsHub Installation to be upgraded is at least in the version 5.0.x.
Make sure all the Prerequisites have been setup.
Prerequisites
This section lists all the new prerequisites that need to be setup before doing the upgrade.
Notifier:
Notifier is a cluster-level central service that provides an in-tenant notification service. In version 5.3.x, Notifier is mandatory fortrackinghubmode but still remains optional forthingshubmode (although it will eventually become mandatory for all modes in the future).Please refer to notifier installation guide to set it up in your kubernetes cluster.
Determine which version to upgrade to
This section shows how you can list all the available patch versions available for this thingsHub minor version i.e. 5.3. You can select the patch version you want to upgrade your thingsHub Installation to. We recommend using the latest available patch version to not miss out on any bug fixes and security patches.
!#/bin/bash
helm3 repo add smartmakers http://helm.smartmakers.de
helm3 repo update
helm3 search repo smartmakers/th-tenant --version 5.3 --versions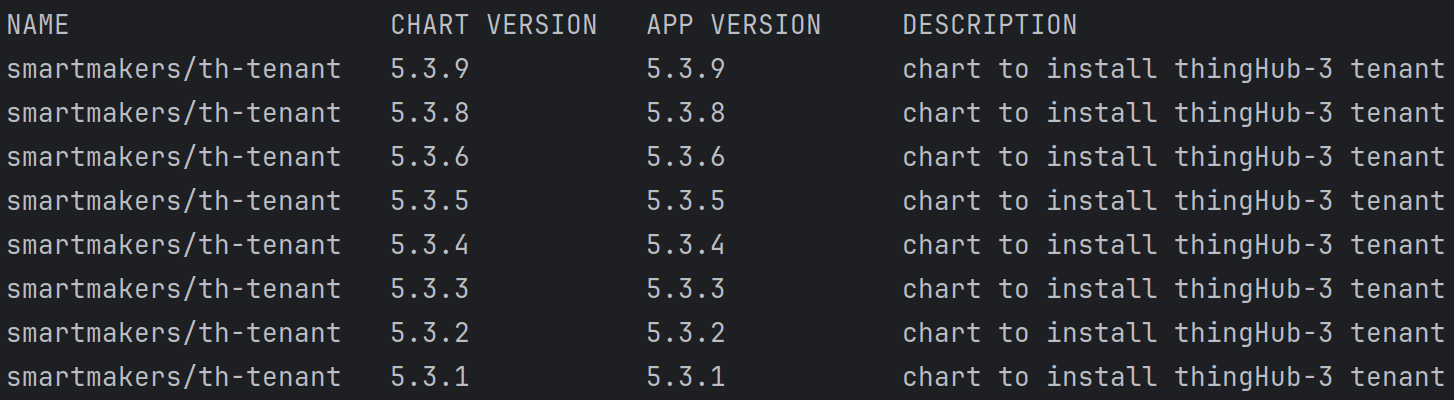
Update Tenant Configuration
This section outlines all the changes that you need to do and that are available in the tenant configuration file. These changes, however, only encompass incremental changes required from the oldest release you can upgrade from i.e. 5.0.x.
Add the notifer block to the tenant configuration file:
tenant_configuration.yaml
CODEglobal name: thub_tenant tenant_mode: trackinghub ... radar: enabled: false temporal: enabled: false ... notifier: enabled: true notifier_url: < kube-dns address to the notifier deployment in the same cluster > api_key: < `token` from the tenant credentials block in notifier config file > ... ...notifier_config.yaml
CODEglobal: ... stream: prefix: notifier tenant_credentials: thub_tenant: token: Randomly generated token to be put in `api_key` of the notifier block in tenant config api_key: API_Key_From_thub_tenant_Tenant comment: tenant credentials for thub_tenantDisable kafka node in thingsflow:
YAMLglobal name: thub_tenant tenant_mode: trackinghub ... radar: enabled: false temporal: enabled: false ... notifier: ... thingsflow: enabled: true node_config: kafka: enabled: false ...
Backup Databases
Before applying the upgrade, back up all your data from both the time-series database and the relational database. This section explains how you can backup and restore you databases.
Postgres
CODE!#/bin/bash # backup: pg_dump -U <your-user> -h <address-to-your-db> -p <port> --database <your-database> --no-owner --format=t --verbose >sql.dmp # restore: pg_restore -d <database> -h <address-to-your-db> -p <port> -U <your-user> --no-owner --role=<your-user> sql.dmpInfluxDB
Make sure that influxdb is port-forwarded to port 8086 in the system where you’re running the shell commands.CODE!#/bin/bash # backup: influxd backup -portable -db things_hub ./influxdata/ # restore: influxd restore -portable -db things_hub ./influxdata/
If you have setup any other backing-up mechanisms in your infrastructure, you can leverage that as well for the backups in place of the one mentioned above.
Apply the Upgrade
After setting up the everything, we can proceed to upgrade the thingsHub Installation.
!#/bin/bash
helm3 repo update
helm3 upgrade <your-thingshub-installation> --namespace <your-thingshub-namespace> smartmakers/th-tenant --version 5.3.9 -f <tenant_configuration.yaml> --atomic
Post Upgrade Steps
In this version, we have some Migration Scripts that need to be triggered from the APIs. But before that, we recommend doing smoke testing on your thingsHub Installation after the upgrade to ensure that the system is functioning smoothly. Based on your use-case, we recommend checking the functionality of incoming device data, integrations, dashboards and tracked assets' position update.
After the tenants working has been validated, you can start running the migration. Please refer to this migration guide to correctly run the migration scripts. To continue with upgrading thingsHub, it is crucial that the migrations have been run.